
Most sod that fails to root well didn’t fail because of the sod itself — it failed because of what was, or wasn’t, done to the ground underneath it first. Fresh, healthy turf laid over compacted clay, a low spot that ponds water, or a dead irrigation zone will struggle regardless of how well it was grown at the farm. Here is the actual prep checklist, in the order it should happen.
1. Kill or remove the existing grass and weeds
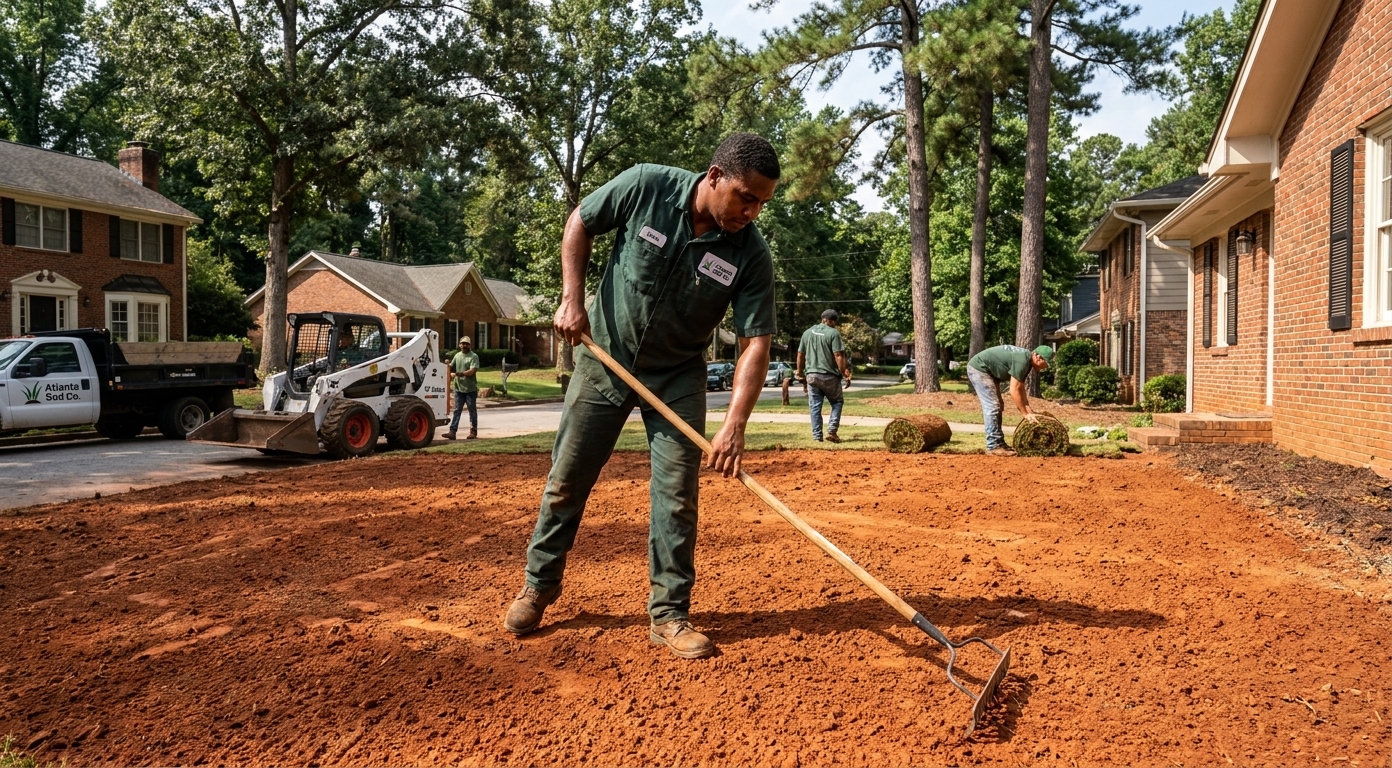
New sod laid directly over dead, thin, or weedy existing grass rarely takes well — the old growth mats down underneath and blocks new roots from reaching soil. There are two ways to clear it:
- Herbicide, on a timeline. A non-selective herbicide application needs roughly 10 to 14 days to fully kill the existing grass and any weeds down to the root before the dead material is cleared and sod goes down. Rushing this step and installing over grass that’s only partially dead is one of the more common DIY mistakes.
- Physical removal with a sod cutter. A sod cutter slices under the existing turf and lifts it out in strips, root mass and all, in a single pass. It’s faster than the herbicide timeline — often same-day — and skips the waiting period entirely, though it does remove a thin layer of topsoil along with the old grass.
Which method makes sense depends on timeline and how established the current lawn is. A yard that’s mostly bare dirt already might not need either step in full; a thick, weedy fescue lawn being converted to Bermuda almost always does.
2. Grade the yard and fix low spots
Georgia’s red clay drains slowly by nature, which makes grading more important here than in sandier soil regions. Low spots that pond water for more than a few hours after rain will keep sod roots sitting wet, and wet, oxygen-starved roots don’t establish well — the grass above them often yellows or thins even though it’s getting plenty of water. Before sod goes down:
- Walk the yard after a rain and mark any spot where water stands for more than a few hours.
- Correct the grade so water sheds away from the house foundation at a gentle, consistent slope — typically at least a couple of inches of fall over the first 6 to 10 feet.
- Fill and level low spots with quality topsoil rather than just piling more clay on top, since compacted clay fill tends to recreate the same drainage problem.
3. Test and amend the soil
Soil pH has a direct effect on how well a new lawn performs, and the right move depends entirely on what grass is going down. Centipede actually prefers Georgia’s naturally acidic clay, typically in the 5.0 to 6.0 pH range, and often needs no lime amendment at all — over-liming a Centipede lawn is a real and common mistake. Bermuda and Zoysia both prefer a closer-to-neutral 6.0 to 7.0 pH, which means a yard being converted to either one frequently benefits from a lime application based on an actual soil test, not a guess. See our full Bermuda vs. Zoysia vs. Centipede comparison for more on how each grass relates to soil pH.
4. Check the irrigation system before sod goes down
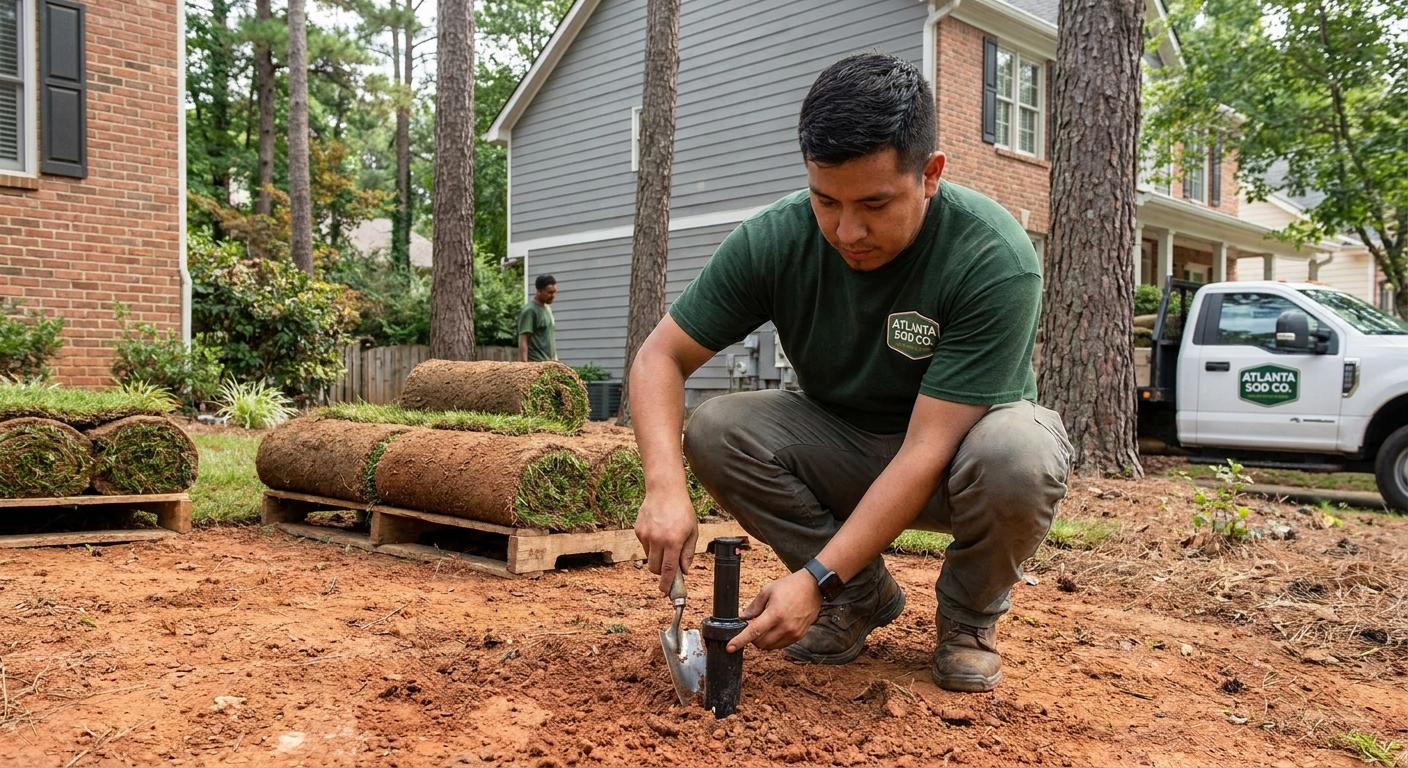
This is the step that gets skipped most often, and it’s one of the most consequential. New sod needs even, reliable watering coverage across the entire yard for the first two to three weeks minimum. If there’s a dead sprinkler zone, a clogged or misaligned head, or simply a coverage gap between two heads, that patch of sod dries out faster than the rest of the yard and can die within days — and it will look identical to a bad piece of sod even though the sod itself was fine. Before installation:
- Run every zone and watch for heads that aren’t popping up, aren’t rotating, or are clogged.
- Check for overlap gaps, especially at yard corners and around beds, where a single head is often expected to cover more ground than it physically can.
- Repair or adjust problem heads and zones before the sod truck arrives, not after the first dead patch shows up.
If you don’t have an irrigation system, that’s fine — it just means hand-watering or hose-end sprinklers need to physically reach every part of the new lawn evenly, which is worth testing with a walk-through before installation day too.
5. Confirm site access for delivery
It’s easy to overlook until delivery day, but pallets of sod are heavy and typically arrive by forklift or flatbed. Walk your property beforehand and confirm there’s a clear, reasonably level path from the street or driveway to the work area. A locked gate, a narrow side-yard passage, steps, or a pool deck in the way doesn’t stop an install, but it does mean pieces get hand-carried instead of driven or wheeled in, which adds labor time and, on a professional quote, usually adds cost. Clearing parked cars, moving patio furniture, and unlocking gates ahead of time keeps installation day moving and helps the crew get sod into the ground faster, which matters most on hot days when time between cutting and laying affects how well the sod holds up.
How far in advance should prep happen?
Timing prep correctly matters almost as much as doing it at all. Herbicide-based grass removal needs its full 10 to 14 day kill window scheduled before installation day, not squeezed in the week of. Soil test results typically take about a week to come back, so send a sample early enough to actually amend the soil, if needed, before sod arrives. Grading and irrigation repairs are more flexible and can often be finished within a few days of delivery, but doing them at least a week ahead gives you a buffer if a repair uncovers a bigger issue, like a broken irrigation line that needs a part ordered.
Common prep mistakes we see
- Ordering sod before finishing prep. Sod is a perishable product once it’s cut — it needs to go in the ground within a couple of days. Ordering before grading, removal or irrigation repair is finished creates pressure to install over a yard that isn’t ready, which usually shows up later as a struggling section.
- Assuming a slightly damp yard is fine to grade. Grading wet Georgia clay tends to compact it into a hard, poorly draining surface rather than leveling it properly. Grading work goes better on soil that’s had a few dry days.
- Skipping the soil test because “the old lawn looked fine.” A previous lawn’s appearance doesn’t tell you the actual pH, especially if it was a different grass type with different soil preferences than what’s going in now.
Pre-installation checklist
| Step | Why it matters |
|---|---|
| Old grass and weeds cleared or killed | Prevents matting underneath new sod that blocks root contact with soil |
| Low spots graded and filled | Prevents standing water that suffocates new roots on slow-draining clay |
| Soil pH tested | Determines whether lime is needed, and how much, for your specific grass type |
| Irrigation heads checked for coverage | Prevents dead zones that dry out and kill sod within days of installation |
| Site access path confirmed | Lets pallets get delivered close to the work area without excess hand-carrying |
What happens when prep gets skipped
We get called out fairly often to look at a struggling lawn that was sodded within the past month, and the sod itself is almost never the problem. It’s usually one of the items above — a dead irrigation zone, a low spot holding water, or old grass left to mat underneath. Proper grading and prep work is covered in detail on our lawn prep & grading page, and it’s a standard part of every full installation we quote — see our sod installation page for how prep and installation are bundled together.