
New sod arrives as living, cut turf with almost no root system of its own yet — everything it needs for the first month has to come from you, not from the ground it’s sitting on. Get the watering schedule and traffic rules right for 30 days and it roots reliably. Skip a few waterings or walk on it too soon and it can fail even though the sod itself was perfectly healthy at delivery.
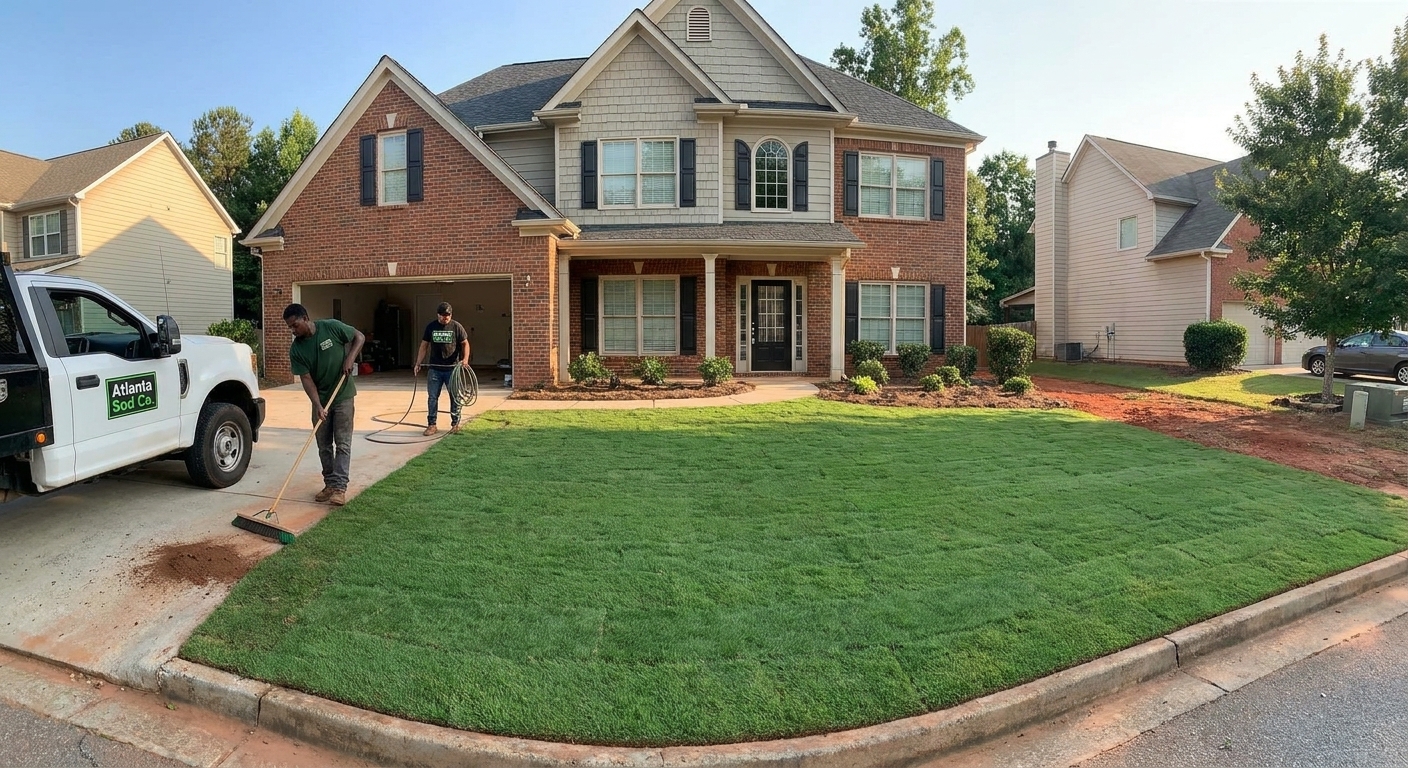
The watering schedule
| Days | Watering |
|---|---|
| Days 1–7 to 10 | Twice daily — enough to keep the sod and top inch of soil consistently moist, not soaked or puddled |
| Days 8–10 through ~Day 14 | Once daily, tapering the total amount slightly as roots begin reaching deeper |
| After Day 14 | Transition to a normal established-lawn schedule — typically 2–3 times per week, deep and less frequent |
Water early in the morning when possible rather than midday, to reduce evaporation loss, and adjust the twice-daily schedule if a stretch of rain is doing some of the work for you — the goal is consistent moisture, not a rigid schedule followed regardless of weather. In peak summer heat, that twice-daily watering matters even more, since new sod’s shallow root system can dry out within hours on a 95-degree afternoon.
Stay off it for the first two weeks
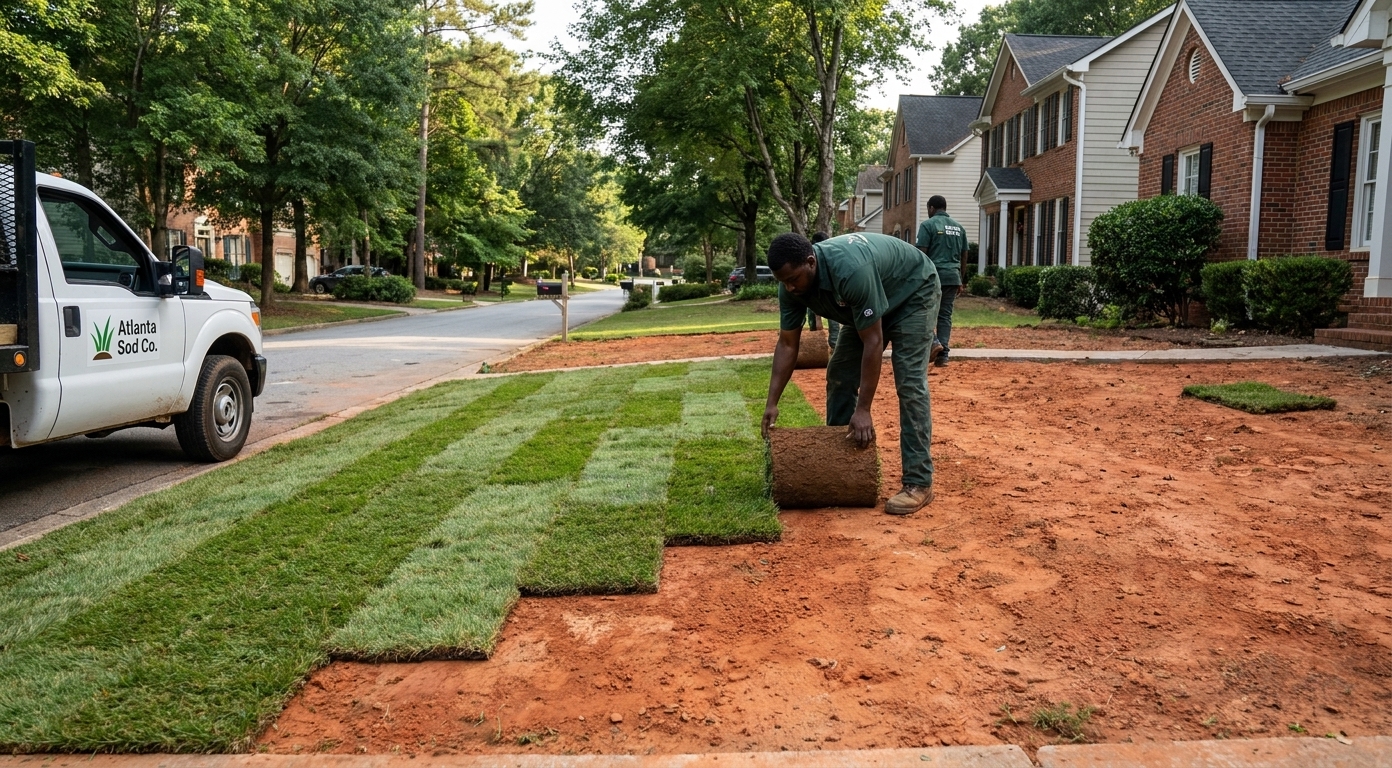
New sod hasn’t knitted into the soil yet, and foot traffic during that window can shift pieces out of place, open gaps at the seams, or compact the soil underneath before roots have a chance to establish. For the first two weeks, the only traffic the lawn should see is whatever’s needed to water it — no mowing, no games, no regular foot traffic across it, and pets kept off it if at all possible.
When to mow for the first time
Not before about three weeks, and even then, timing should be based on the sod itself rather than the calendar. The real test: gently tug on a section of grass. If it resists and doesn’t lift up with the roots exposed, it’s rooted enough to handle a first mow. If it lifts easily, give it more time and check again in a few days. Set the mower to a slightly higher-than-normal cutting height for that first pass, and make sure the blade is sharp — a dull blade tears rather than cuts on turf that’s still establishing.
First fertilization
Hold off on fertilizing at installation time in most cases — quality sod typically arrives already carrying enough nutrients from the farm to get through the first few weeks. A light starter fertilizer application is usually appropriate around 4 to 6 weeks after installation, once the lawn has had its first mow or two and is clearly rooted, rather than immediately after laying it.
Signs of a problem, and what they actually mean
Yellowing patches in the first few weeks worry homeowners more than they should, but they’re worth acting on quickly rather than waiting to see if they resolve on their own. In the overwhelming majority of cases, a yellow or browning patch on new sod comes down to one of two causes, and neither one means the sod itself was defective:
- A watering gap. A missed watering session, a hose that didn’t reach far enough, or a section that dried out faster than the rest of the yard due to more sun exposure. The fix is simply catching up on watering for that specific area, not the whole lawn necessarily.
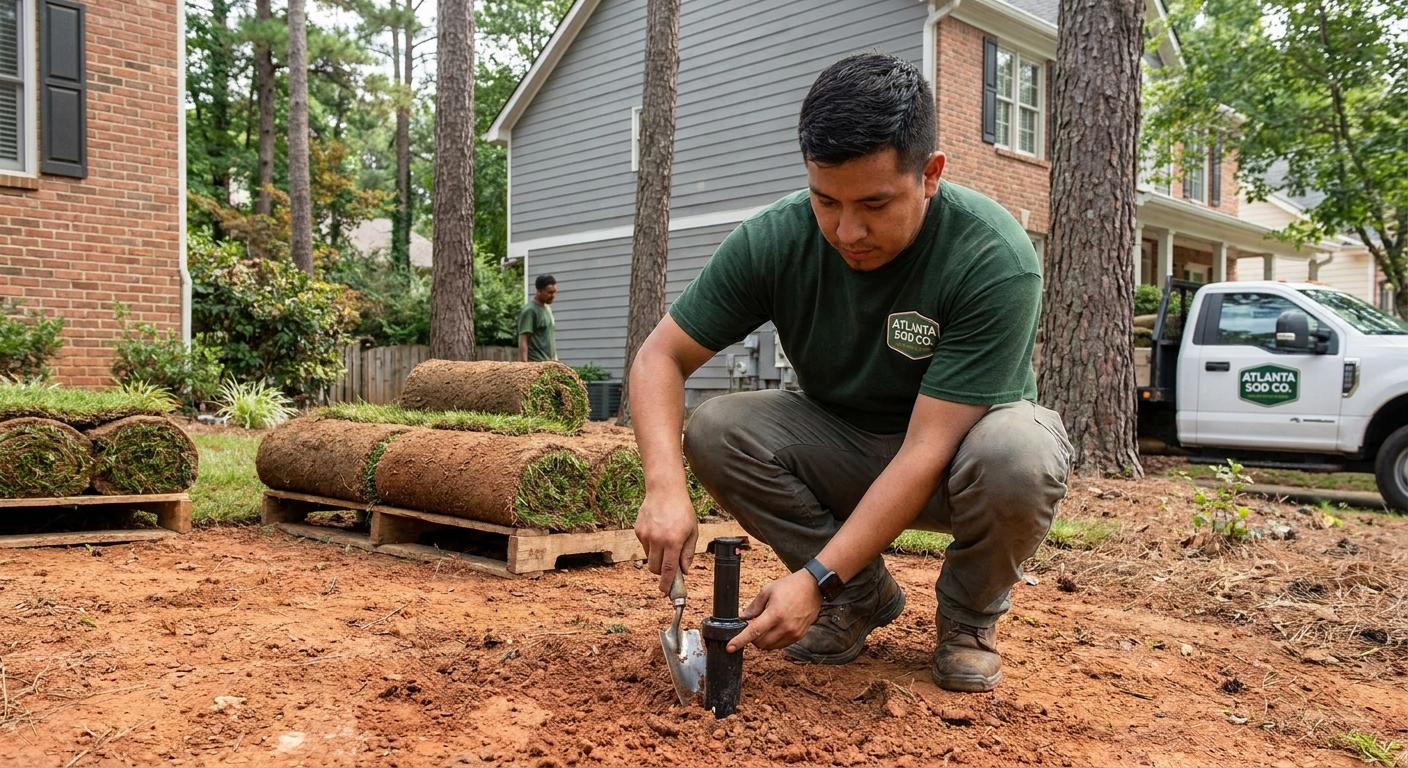
- An irrigation dead zone. A sprinkler head that isn’t popping up, is clogged, or has a coverage gap will starve a specific patch of water while the rest of the lawn looks fine — this is why checking irrigation coverage before installation matters so much, and it’s worth rechecking if a patch shows up in the same spot repeatedly.
What it’s usually not: a workmanship failure or bad sod. If yellowing is spread evenly and the whole lawn looks a bit stressed, that’s more likely a watering-schedule issue across the board. If it’s one isolated patch in the same location every time, check that specific irrigation zone first before assuming anything else is wrong.
Weeks three and four: what changes
Once the tug test confirms rooting and the first mow is done, weeks three and four are about easing into normal lawn care rather than continuing establishment-level babying. Watering should already be transitioning toward the standard 2 to 3 times per week schedule by this point. Light foot traffic is generally fine once mowing has started, though it’s still worth avoiding anything heavier — a trampoline, a parked trailer, repeated dog runs in one path — until the lawn has had a few more weeks to thicken up. A second mow typically follows 5 to 7 days after the first, and by the end of the fourth week most lawns installed in the ideal season look and behave like an established lawn, even though full root depth continues developing for a few more months underneath.
Common mistakes in the first month
- Watering on a fixed schedule regardless of weather. A rainy stretch can mean less supplemental watering is needed; a hot, dry stretch may call for a bit more than the baseline schedule. Watch the sod itself, not just the calendar.
- Mowing too early because the lawn “looks ready.” Sod can look fully green and dense well before its roots have actually anchored. The tug test is a better indicator than visual appearance alone.
- Assuming every yellow patch means the sod is dying. Most early yellowing traces back to a watering gap or irrigation coverage issue, and it typically resolves within a week or two once that specific cause is corrected.
- Fertilizing immediately at installation. Quality sod usually carries enough nutrients from the farm to get through the first several weeks; early fertilizing isn’t necessary and isn’t typically recommended.
Getting the timing of the install right matters too
Everything above assumes the sod was installed in a reasonable season to begin with. Installing in the ideal warm-season window gives new sod its best shot at rooting quickly and predictably — see our guide on the best time to lay sod in Georgia for the full breakdown of when that window is and why it matters.
Full details on what a professional installation includes, and the one-year establishment warranty that comes with it, are on our sod installation page.